Set Up DNS for Office 365
Note: The instructions below are only applicable to VPS, Dedicated Server, and Reseller hosting accounts.
To set up Microsoft Office 365:
-
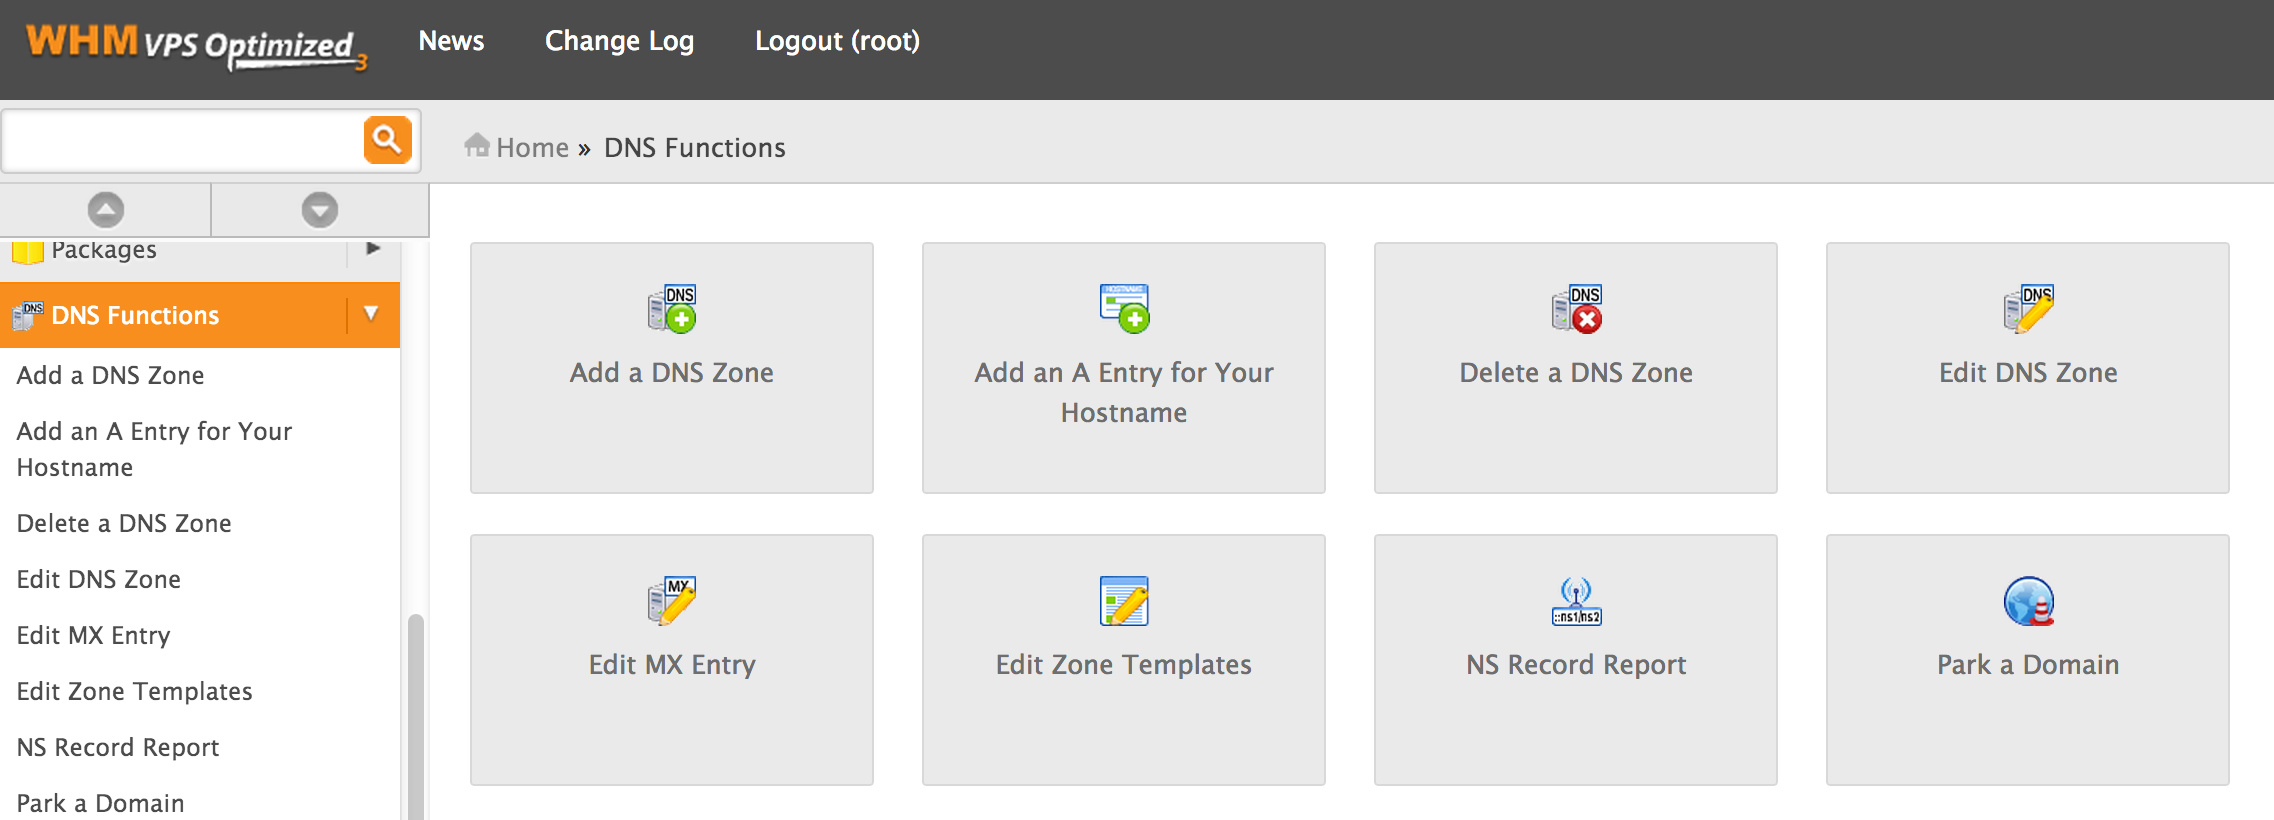
Click DNS Functions on the left-hand sidebar.
-
Click the Edit DNS Zone icon.
-
Click the name of the zone you'd like to edit and then click the Edit button.
-
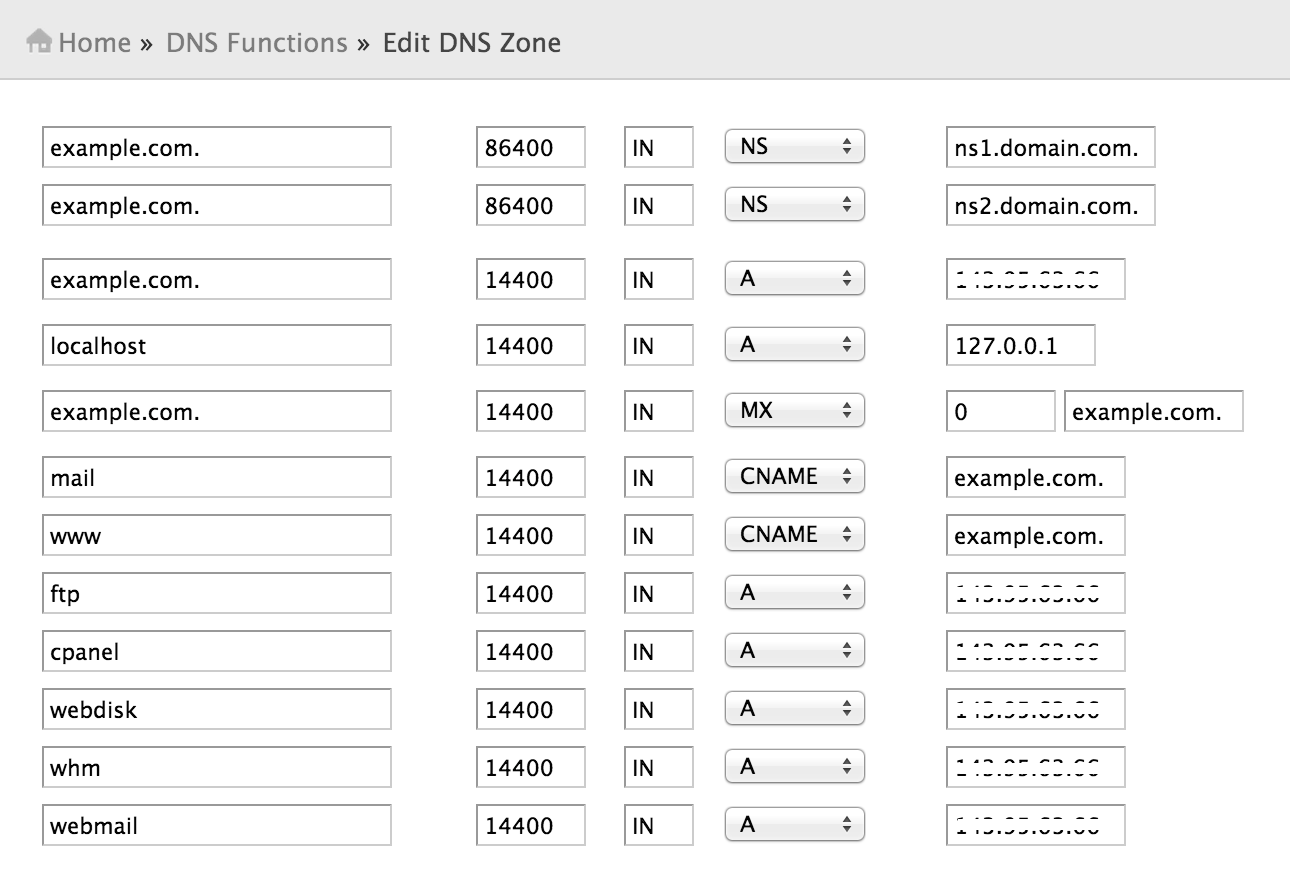
Update the text fields as per the following information, where 'myURL.com' is your actual domain name:
myURL.com. 300 MX 0 myURL.com.mail.eo.outlook.com.
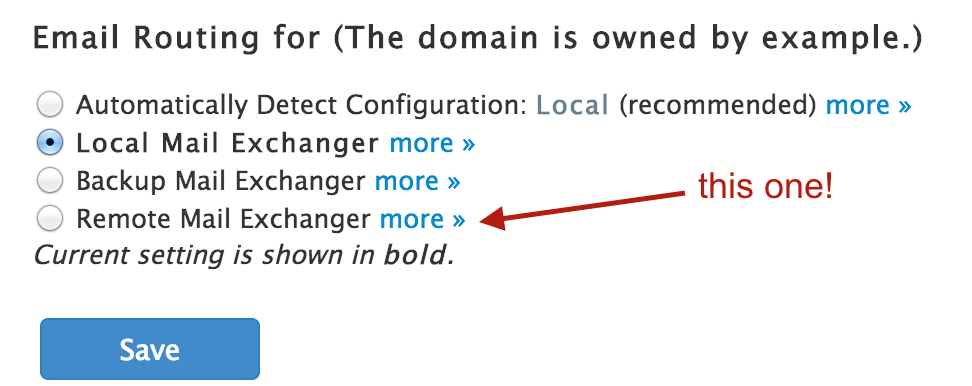
Tick the 'Remote Mail Exchanger' option in the Change the Email Routing section near the bottom.
myURL.com. 3600 TXT MS=ms000000
autodiscover 3600 CNAME autodiscover.outlook.com.
myURL.com. 3600 TXT "v=spf1 include:outlook.com ~all"
_sip._tls 3600 SRV 100 1 443 sipdir.online.lync.com.
_sipfederationtls._tcp 3600 SRV 100 1 5061 sipfed.online.lync.com.
sip 3600 CNAME sipdir.online.lync.com.
lyncdiscover 3600 CNAME webdir.online.lync.com.
-
Click the Save button.
Note: the MS record shown in red is a number supplied by Microsoft as part of the verification process. The MX record contains the domain name as a prefix, with periods replaced by hyphens.