Set Up CloudFlare
So you wanna get Cloudflare set up? You probably have already read a little bit about Cloudflare in our Knowledgebase. To learn how to disable Cloudflare check our article here.
Now let's get started:
-
Navigate to and click on the Cloudflare icon in the Software section.
-
In the Cloudflare page that loads enter your email in the blank text box, tick the 'I Agree' box and then click the Sign Up Now! button.
-
You'll receive an email with instructions on how to claim your Cloudflare password (go ahead and do this).
-
Once you have reset your password on the Cloudflare website it will prompt you to login. Go ahead and do so.
-
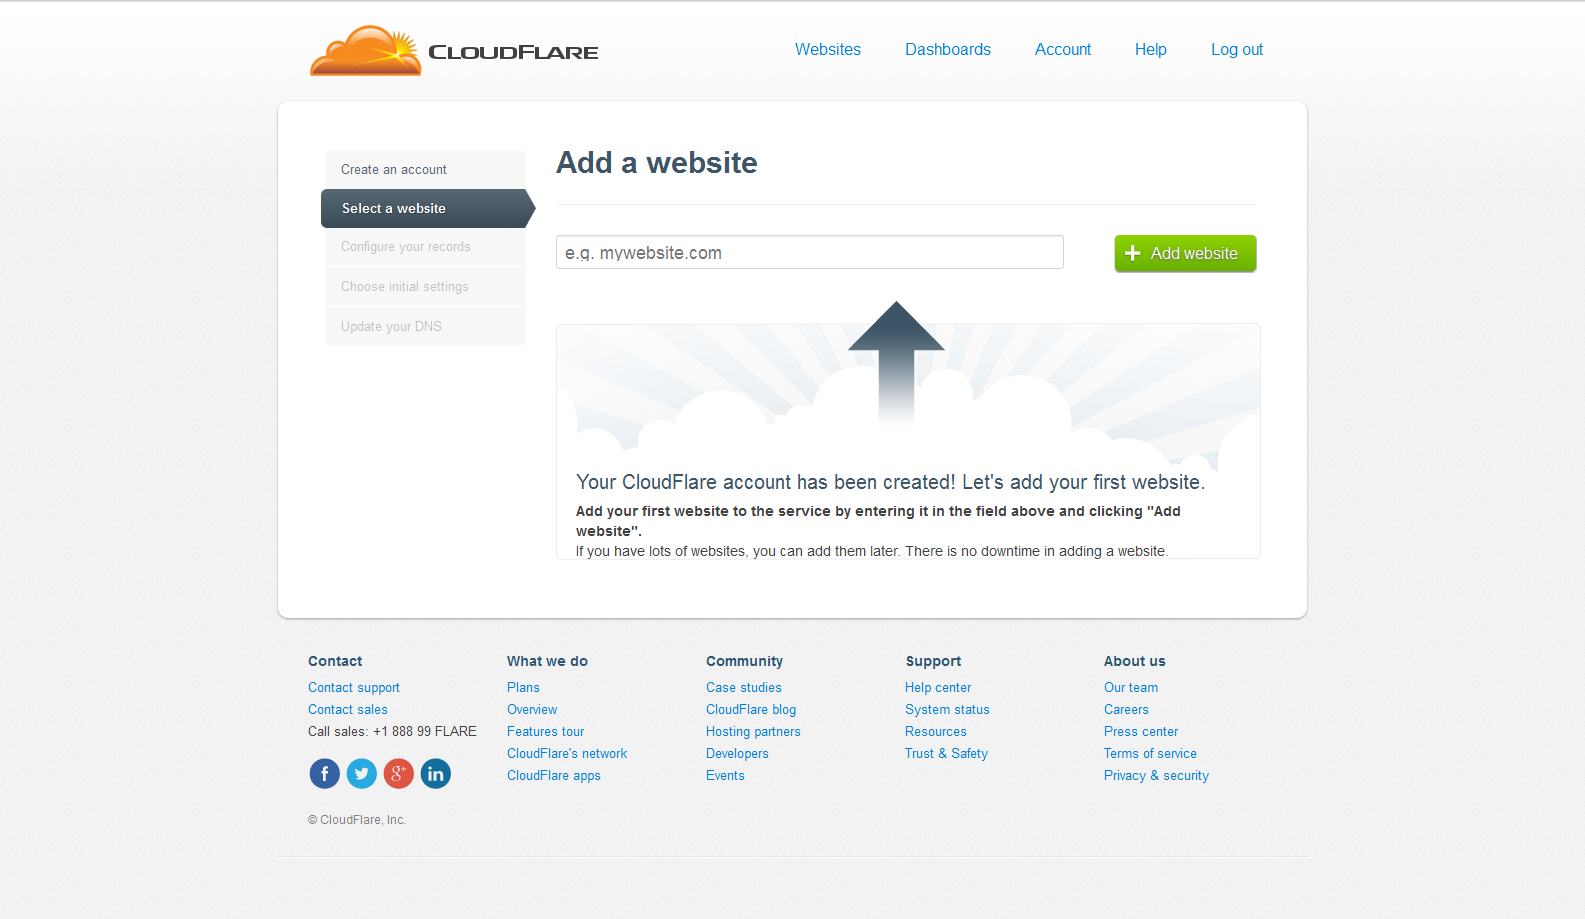
On the Add a Website page that populates add the website URL of the website you want to add Cloudflare to and click the Add Website button.

-
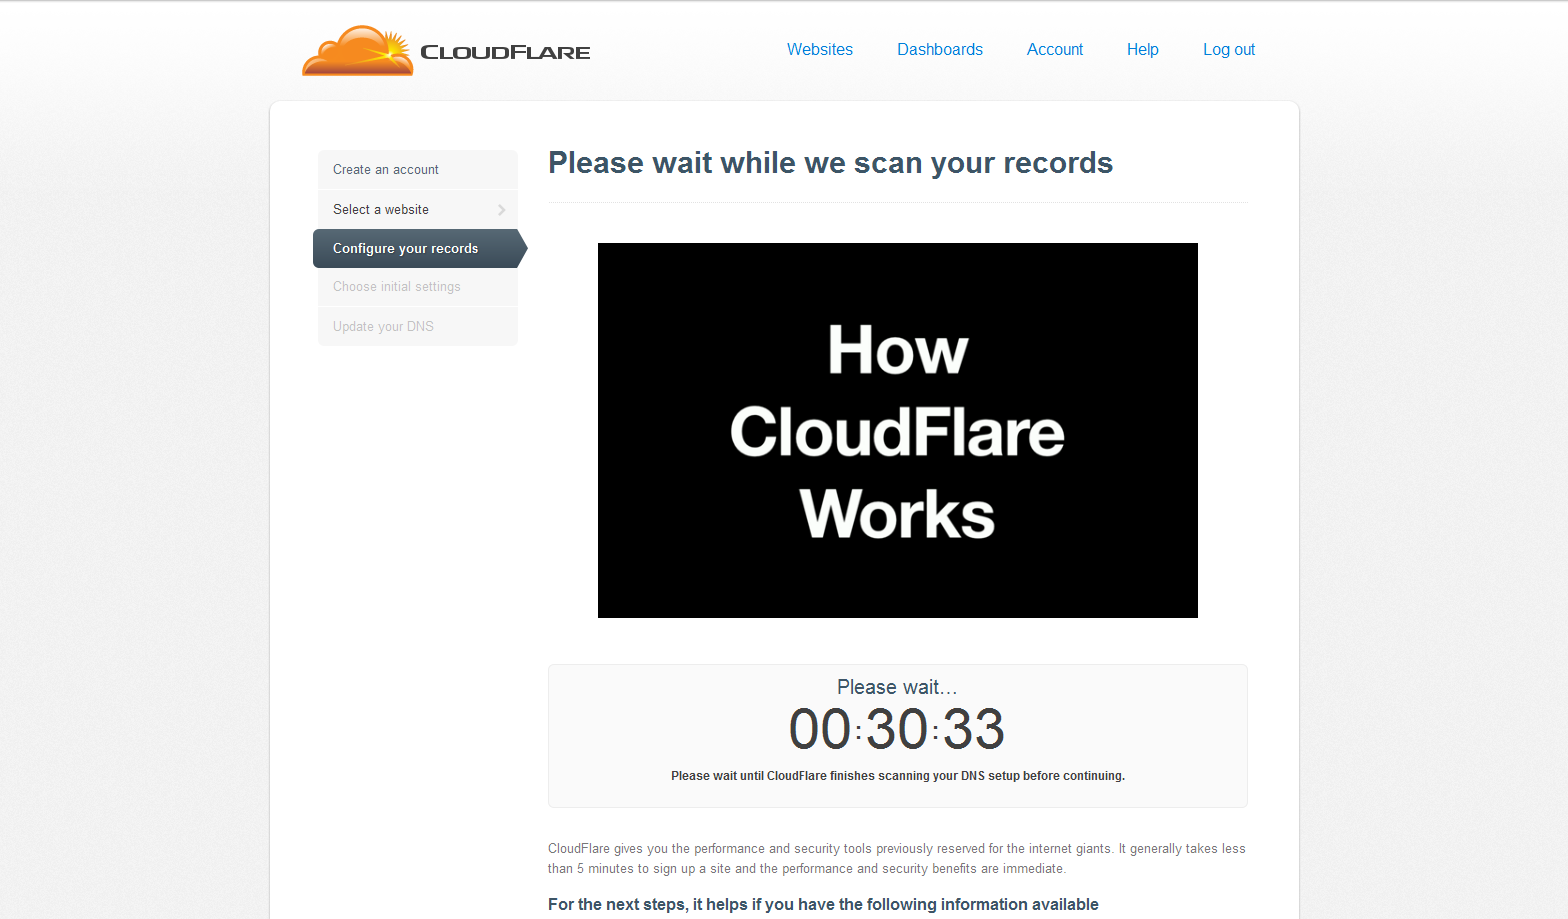
Cloudflare will start scanning your accounts to confirm that you do in fact own the account you're requesting Cloudflare access for.

-
A 'Configure Your DNS Records' page populates
-
Check that all have been added in the list below and toggle them on/off for Cloudflare via the cloud icon in the Active column.
Note: to mask the IP address you should mask all the subdomains (including FTP, cPanel, webmail, mail and 'www'). Do this by using the cloud toggle icon as mentioned above. Only enabling the plugin may just help with loading times and speed, but won't protect against DDoS and won't hide your IP.
Tip! It would be a good idea to host emails separately, and point the MX entry to that separately hosted email (not the same server as the website). -
Add more sites by clicking the green 'Add' button near the bottom right.
-
When you're done click the 'I've added all missing records' button near the bottom to continue.
-
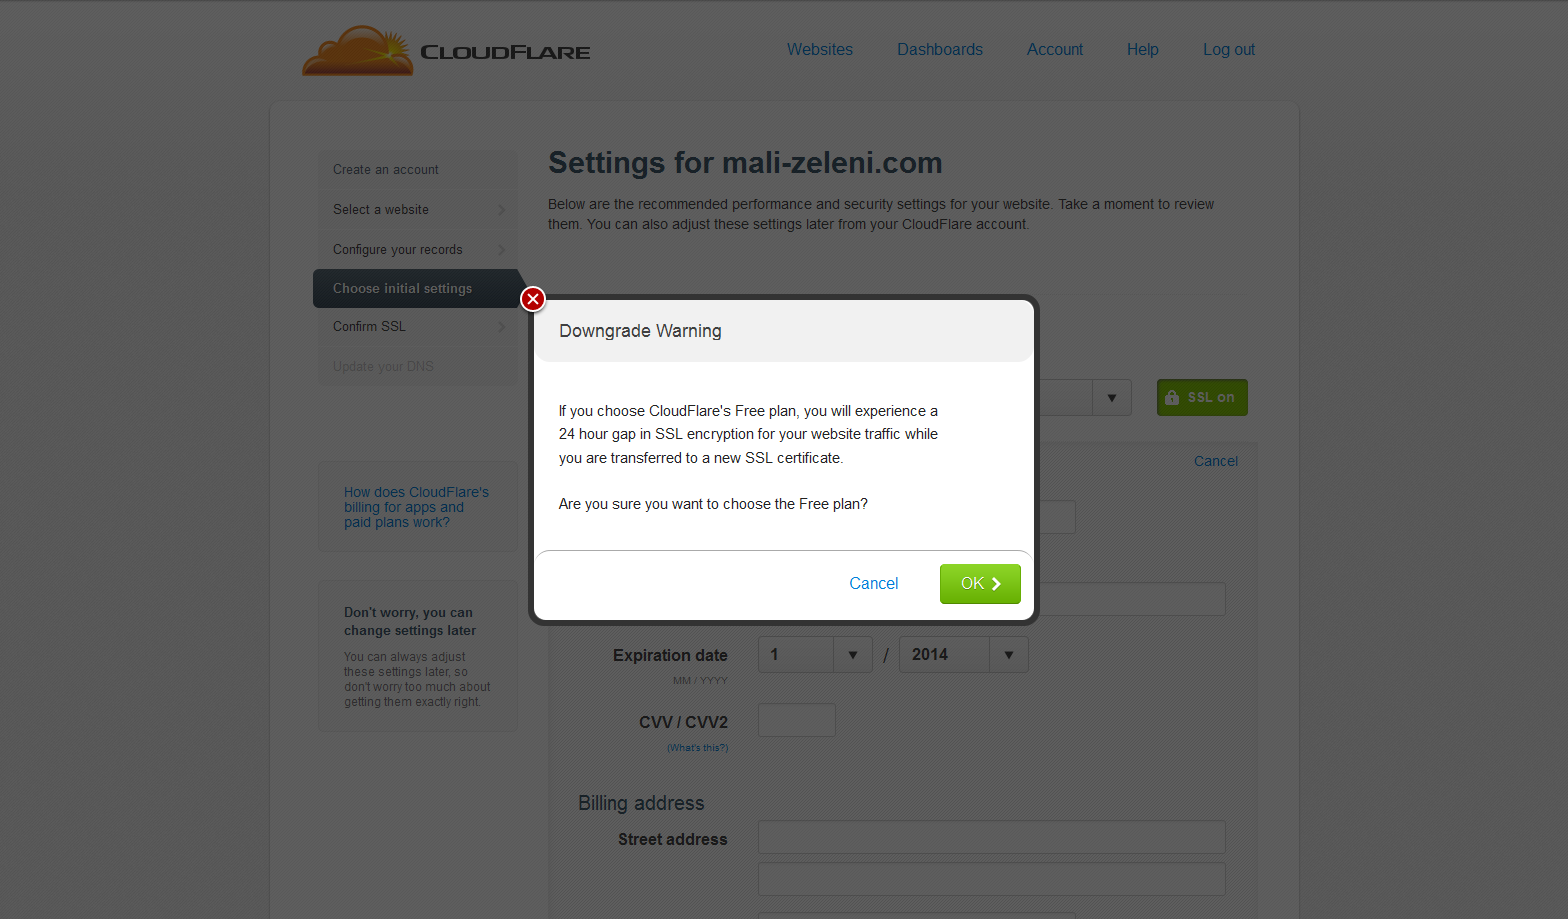
On the settings page that appears next choose a plan from the dropdown
Note: if you choose Free you will get a 'downgrade' warning; click the OK button.

-
Select your preferred performance and security settings in the available dropdowns.
-
In the 'Other recommended settings' section choose desired settings for Automatic IPv6 and SmartErrors options (On and OnPartial are the defaults) and click the Continue button.
-
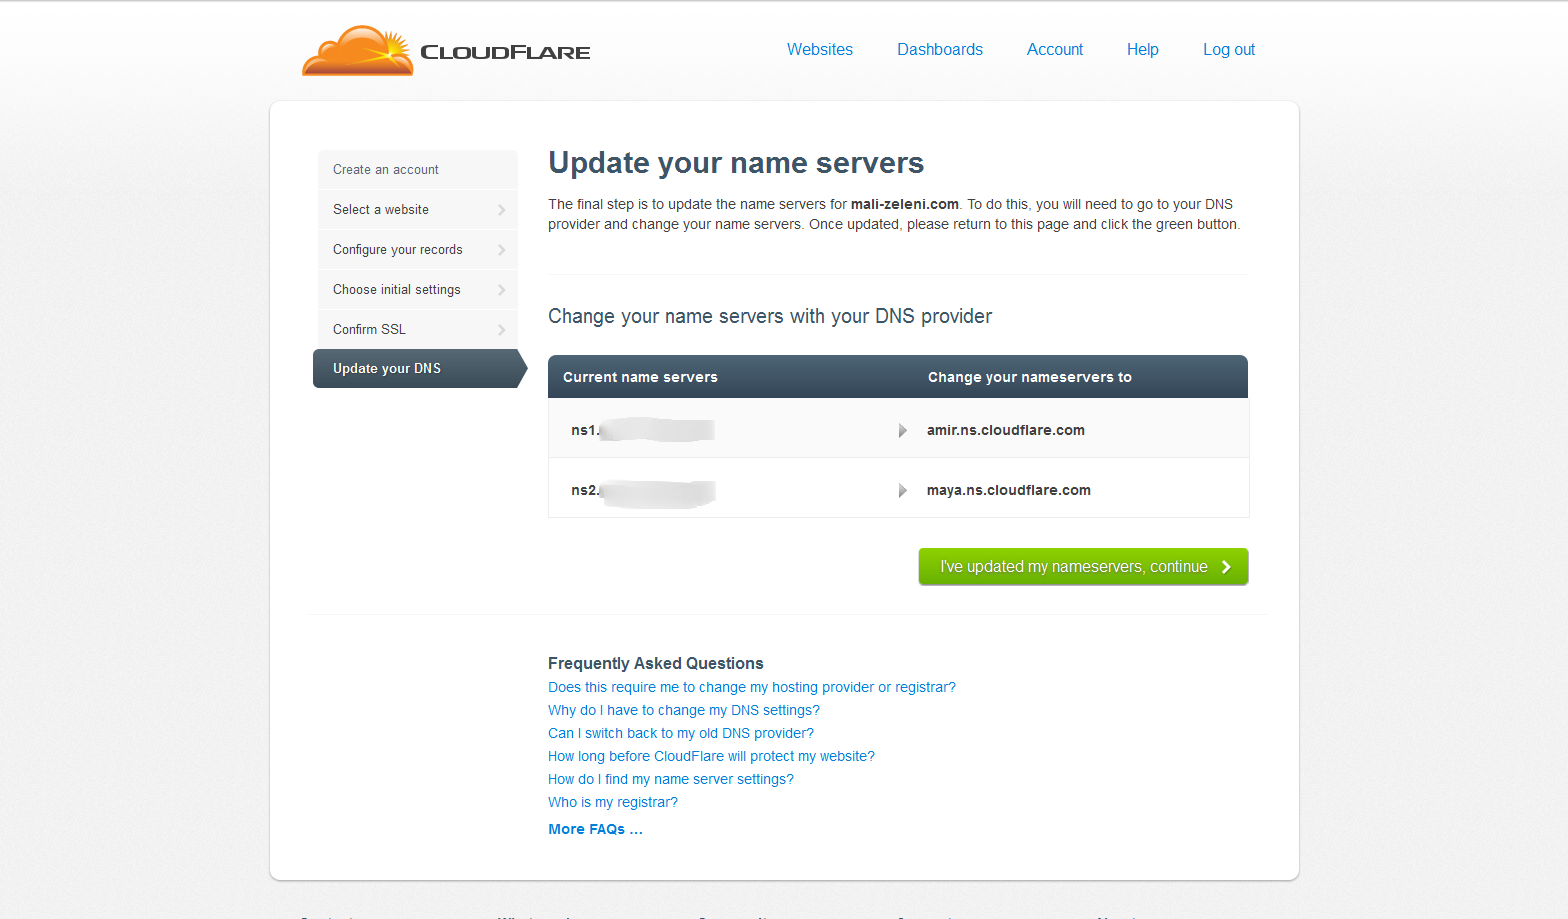
In the Update Your Nameservers page that populates update your nameservers, you'll have to go to your DNS provider and change your nameservers.

-
Once updated, return to the Update Your Nameservers page and click the green 'I've updated my nameservers, continue' button.
-
A confirmation page will appear with a status message in the blue box near the bottom.
See also Disable Cloudflare for Your Domain, Change Nameservers for Cloudflare, What is Cloudflare?