Knowledge Base
Categories: SSL Certs and IP Addresses
Install an SSL Certificate on VPS or Dedicated
To install an SSL Certificate for your website to be secure, which allows you to take credit card payments, please follow the directions below.
Installing SSL Certificate in WHM
- Log in to your WHM.
- Scroll down to SSL/TLS section, then click Install an SSL Certificate on a Domain.
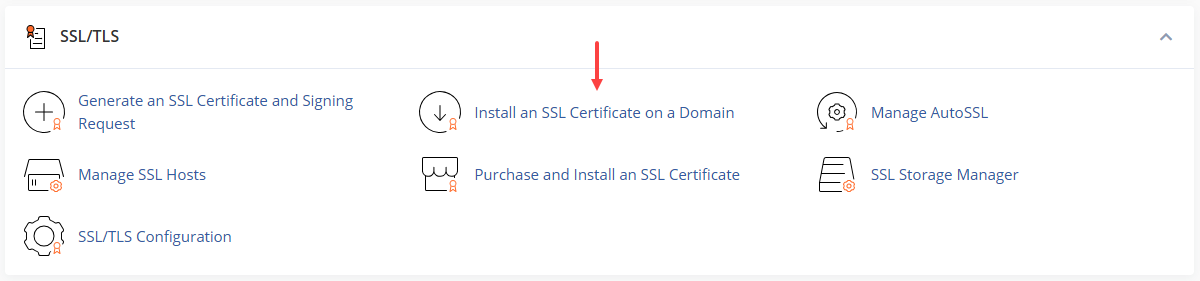
Note: You can also use the Search bar to search for Install an SSL Certificate on a Domain. - You will then be taken to the Install an SSL Certificate on a Domain management page. You will need to fill out all fields to install the SSL Certificate.
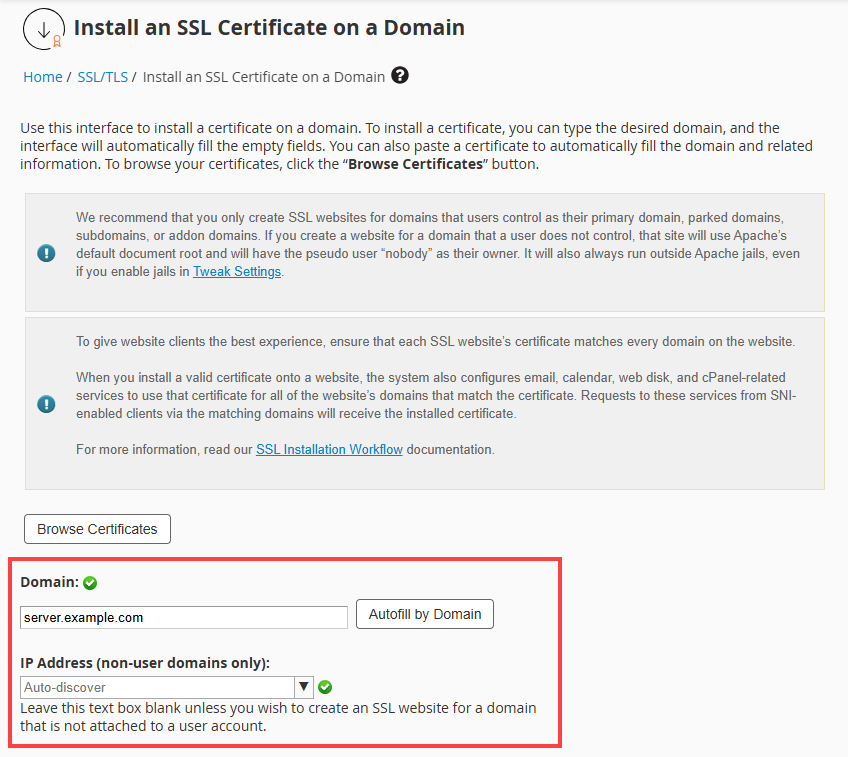
- Enter the Certificate into the first field. The SSL Manager will then try to fetch the rest of the fields needed.
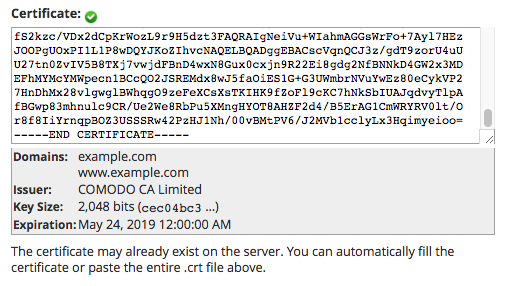
Suppose any of this information isn't correct. In that case, your SSL Certificate isn't issued correctly, and you need to contact your SSL issuer to assist you with reconfiguring the SSL Certificate.
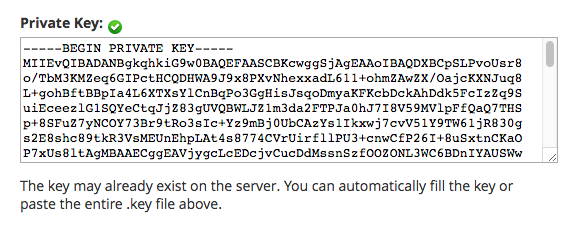
- You will now need to insert the RSA key (If one was automatically fetched for you, please replace it with the one we gave you).
- You will then need to enter your CA Bundle in the last field (If you do not enter a CA, then the SSL Certificate will appear as self-signed, and a warning will be shown when customers attempt to access your site securely).
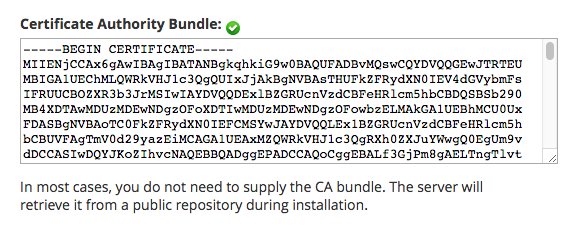
- Once you enter all three needed aspects of the SSL Certificate (CRT, RSA, and CA Bundle), click the Install button. The server will then install the SSL Certificate and notify of completion or if any errors may have occurred.
The new certificate should begin to work immediately, and you may view your site using https:// to confirm this. If you need a merchant or credit card processing account, please complete our application.
Did you find this article helpful?